Updating
Updating Modmail
You can update Modmail on your Heroku account whenever changes are made to the repository. If you want to update while hosting locally (not Heroku), simply type git pull in your terminal and install the requirements again with pipenv install.
Forking the repo
Before you get started, you must fork the repo first if you are using Heroku and want to update the bot.
Syncing a fork branch from the web UI
On GitHub, navigate to the main page of the forked repository that you want to sync with the upstream repository.
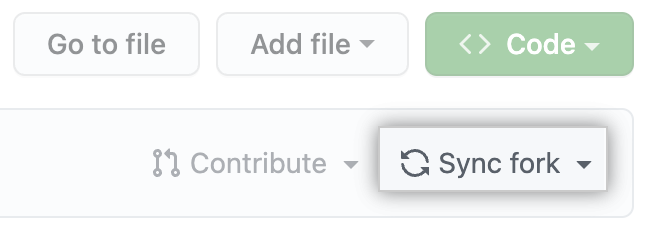
Select the Sync fork dropdown.

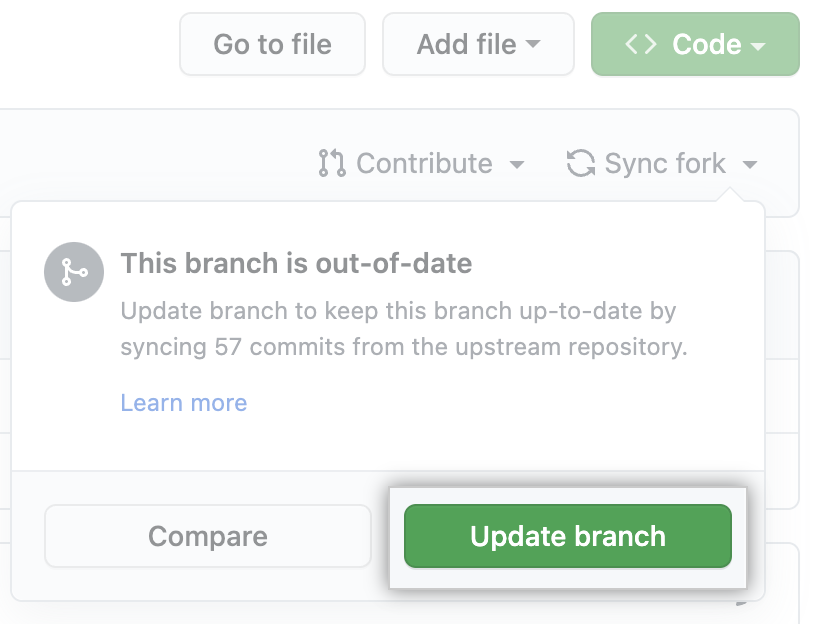
sync-fork-dropdown Then click Update branch.

update-branch-button
If the changes from the upstream repository cause conflicts, GitHub will prompt you to create a pull request to resolve the conflicts.
I want to enable automatic updates
Create a GitHub account
Fork the repository
Add GITHUB_TOKEN into your configuration variables from https://github.com/settings/tokens with the repo scope (Guide).
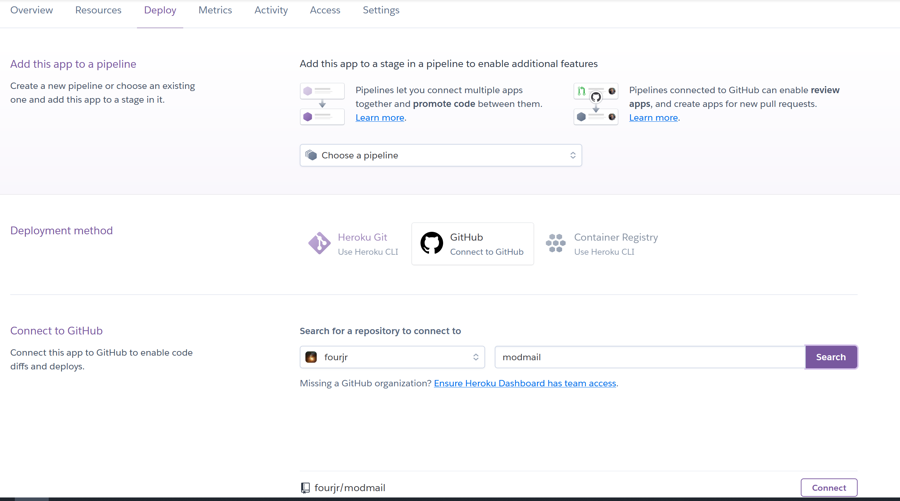
Link your GitHub account to heroku

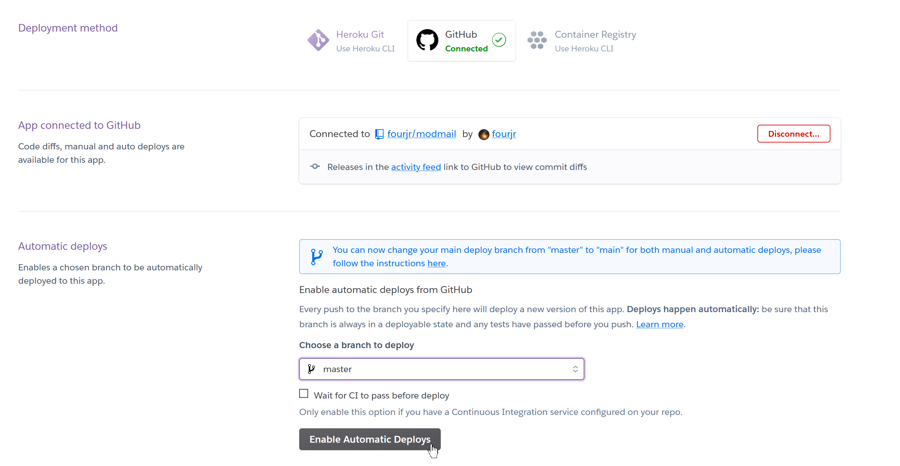
Turn on automatic deploys

Restart the bot
I want to update the bot once
Click here to create a new pull request to your fork. Select compare across forks, make the base repository yourusername/modmail and ensure the branch is set to master. Put any title you want and create the pull request. On the page that comes after this, merge the pull request.
You then want to go to your modmail application in Heroku, connect your modmail fork via the Deploy tab and deploy the master branch.
You can turn on auto-deploy for the master branch if you don't want to go through the process of logging into Heroku and deploying the branch every time changes to the repo are made in the future. However, you will have to make a pull request to update your fork every time.
Last updated